Wednesday, May 8, 2013

Mama and Me Tiny Clay Owls


I made these little owls for my mom.  I told you she has a thing for owls and so do I.

I simply took two little balls of bead clay, shaped and cooked them following the directions on the clay package.  After they were cool, I painted them with acrylic paint and gave them a glossy coat of paint.

Tuesday, February 19, 2013

Cute Cupcake Toppers

 
Some of my cupcake toppers were just featured at ohdulcescupcakes.com.  I'm excited these little guys are finally getting some recognition.  I hope to have a little garden party with my kids this spring and make some toppers like the ones featured.  Problem is, I've got to grow a garden! 


My other cupcake toppers, like this little owl topper, can be found in my Etsy shop, Mama Do That.

Thursday, February 14, 2013

Valentine's Day Celebration


Here's how we celebrated Valentine's day.  Hope you had a great day!

Friday, February 8, 2013

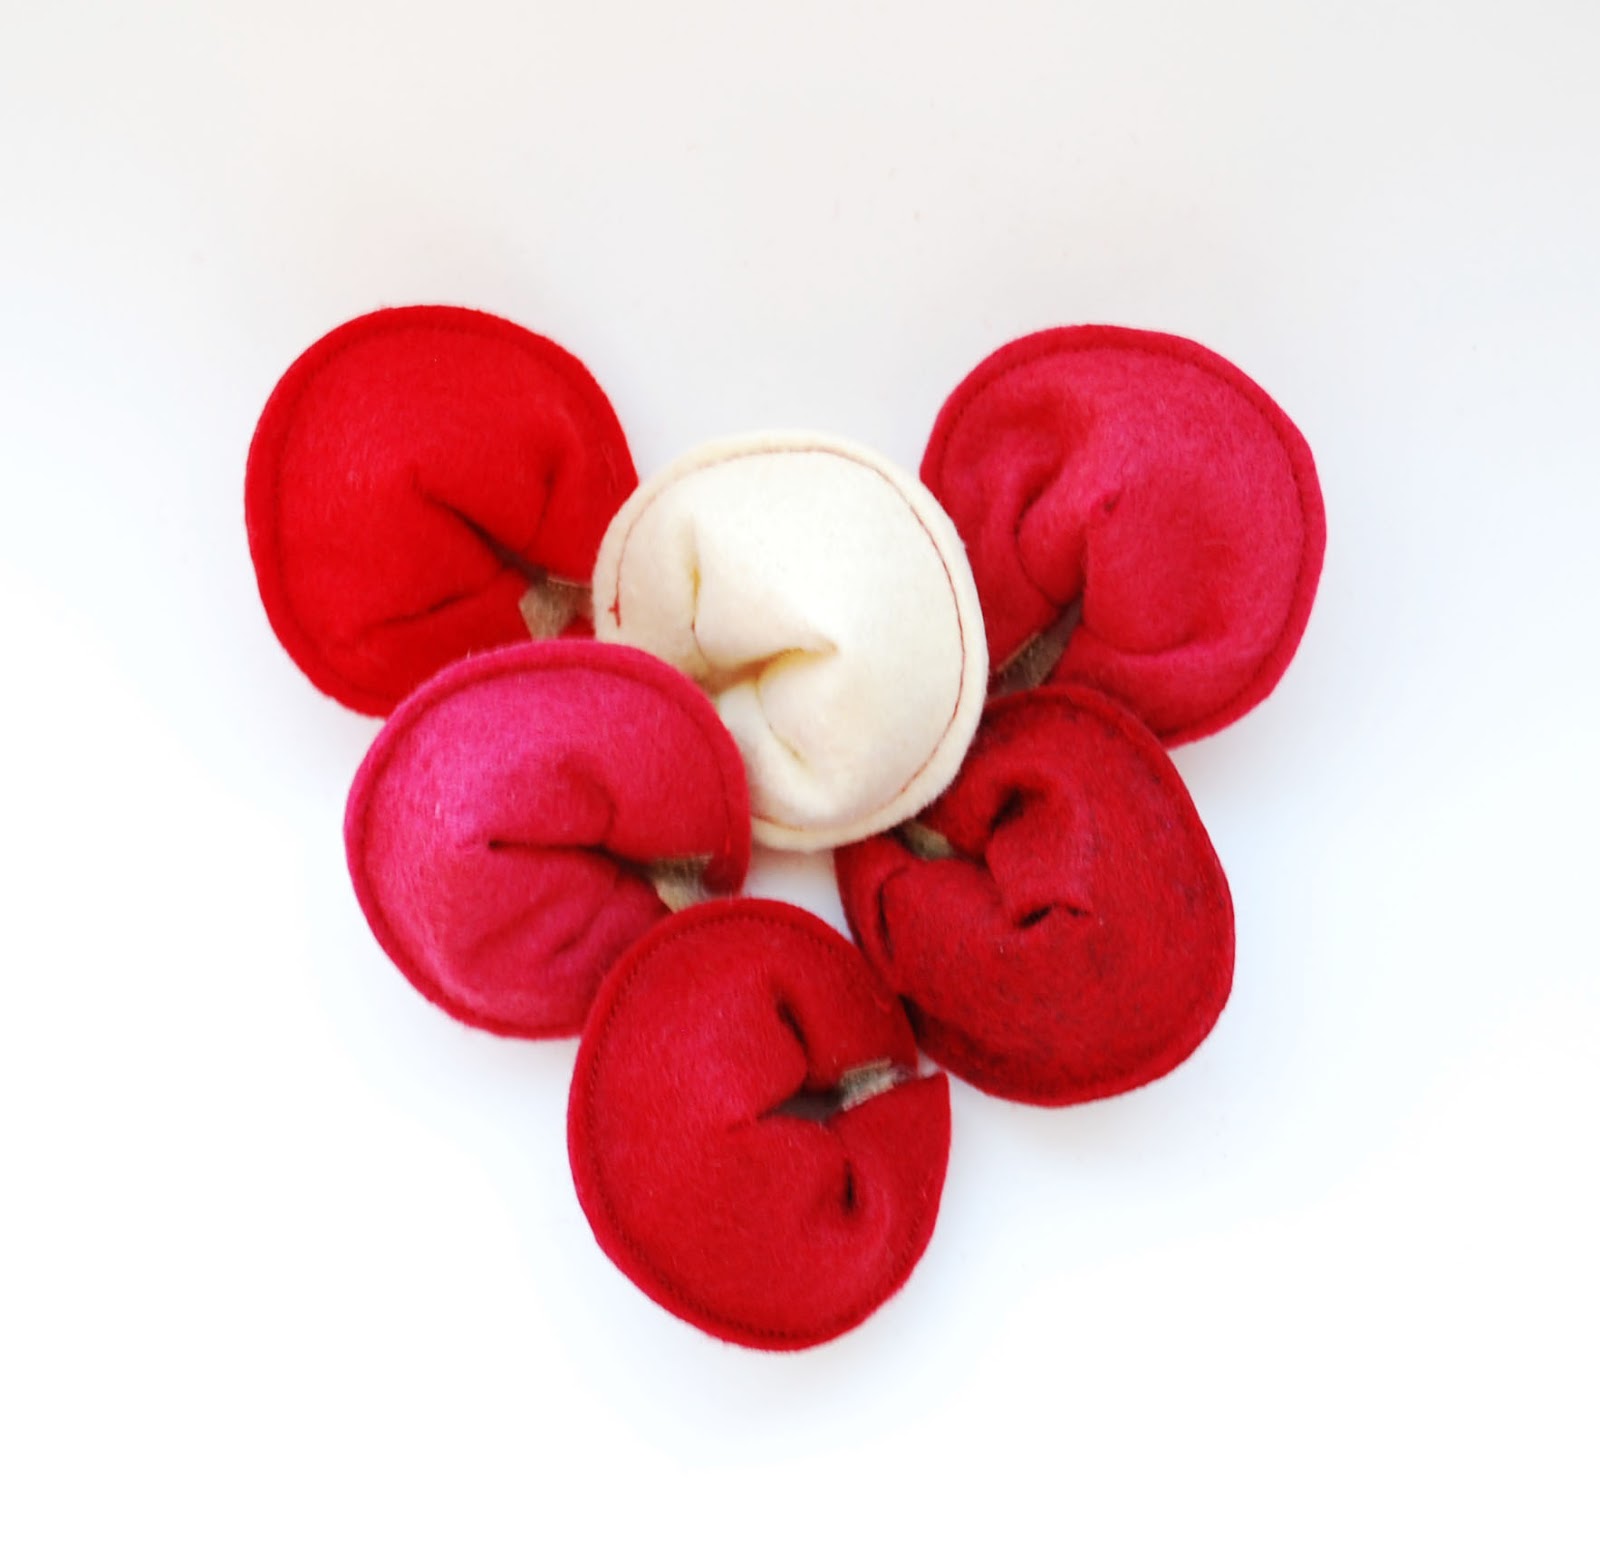
Valentine Felt Fortune Cookies

Evelyn has been begging me to teach her how to make a felt fortune cookie.  Since it is close to Valentine's Day I decided I would teach her how to make a felt fortune cookie and make a few extra cookies for myself in reds and pinks. 


We used the felt fortune cookie pattern that is in my shop.  It was simple enough for Ev to make with my help.  She had something a little fancier in mind for her felt fortune cookie.  She wanted a cookie dipped in felt chocolate and covered with felt sprinkles.  Smart move on her part.


Tuesday, January 29, 2013

Twine-Wrapped Large Letters


I put these twine-wrapped letters above my dresser.  They are simple, but meaningful. 

These are the letters I made and used as part of my wedding decor.  I had a rustic, woodland wedding theme. To make them, I drew out the letters on composite board, cut them out using my Dremel tool, and wrapped twine around each letter, hot-gluing it in place every few inches. 

Friday, January 18, 2013

King and Queen Reading Pointers

We recently started homeschool and I thought it would be fun to have some reading pointers around the house.  I made all of the pointers simply by gluing stuff in my craft box to the end of sticks. 

My favorite pointers by far are this king and queen.  They took a bit longer to make than the first few reading pointers, but it was worth it.  The kids use the pointers for reading, but the king and queen have turned into puppets more so than pointers.

Wednesday, January 16, 2013

Chinese Take Out Box


I recently received a small gift in a little take-out box.  What a cute idea!  I thought I'd bump up this idea a notch by creating a take-out box using paper with a fun print. 

First I took the wire handle off of the original take-out box.  It unfolded easily after the handle was off.

I traced the outline of the box onto a large piece of paper to make a duplicate and did a crayon rubbing on this paper over the creases on the original take-out box. I cut along some of the crease lines on the duplicate to make a template for the creases.  Without the crease lines marked, it's hard to know where to fold to make the box look like a real take-out box.

Then I traced the outline of the take-out box and the crease marks onto my cute paper. I cut it out and folded where I marked. 

The original take-out box I had did not have any glue, but it was helpful for me to put a few small dots of hot glue on a few of the folds. 


Once the take-out box was folded up, I simply used a needle to make a small hole on each side of the box for the wire handle.