Tuesday, January 29, 2013

Twine-Wrapped Large Letters


I put these twine-wrapped letters above my dresser.  They are simple, but meaningful. 

These are the letters I made and used as part of my wedding decor.  I had a rustic, woodland wedding theme. To make them, I drew out the letters on composite board, cut them out using my Dremel tool, and wrapped twine around each letter, hot-gluing it in place every few inches. 

Friday, January 18, 2013

King and Queen Reading Pointers

We recently started homeschool and I thought it would be fun to have some reading pointers around the house.  I made all of the pointers simply by gluing stuff in my craft box to the end of sticks. 

My favorite pointers by far are this king and queen.  They took a bit longer to make than the first few reading pointers, but it was worth it.  The kids use the pointers for reading, but the king and queen have turned into puppets more so than pointers.

Wednesday, January 16, 2013

Chinese Take Out Box


I recently received a small gift in a little take-out box.  What a cute idea!  I thought I'd bump up this idea a notch by creating a take-out box using paper with a fun print. 

First I took the wire handle off of the original take-out box.  It unfolded easily after the handle was off.

I traced the outline of the box onto a large piece of paper to make a duplicate and did a crayon rubbing on this paper over the creases on the original take-out box. I cut along some of the crease lines on the duplicate to make a template for the creases.  Without the crease lines marked, it's hard to know where to fold to make the box look like a real take-out box.

Then I traced the outline of the take-out box and the crease marks onto my cute paper. I cut it out and folded where I marked. 

The original take-out box I had did not have any glue, but it was helpful for me to put a few small dots of hot glue on a few of the folds. 


Once the take-out box was folded up, I simply used a needle to make a small hole on each side of the box for the wire handle. 


Wednesday, December 19, 2012

Christmas Angels

These Christmas angels were ordered and sent out just last week.  Word has it they are going to be given to a group of 12 year-old girls...angels themselves, I'm sure!

Friday, December 7, 2012

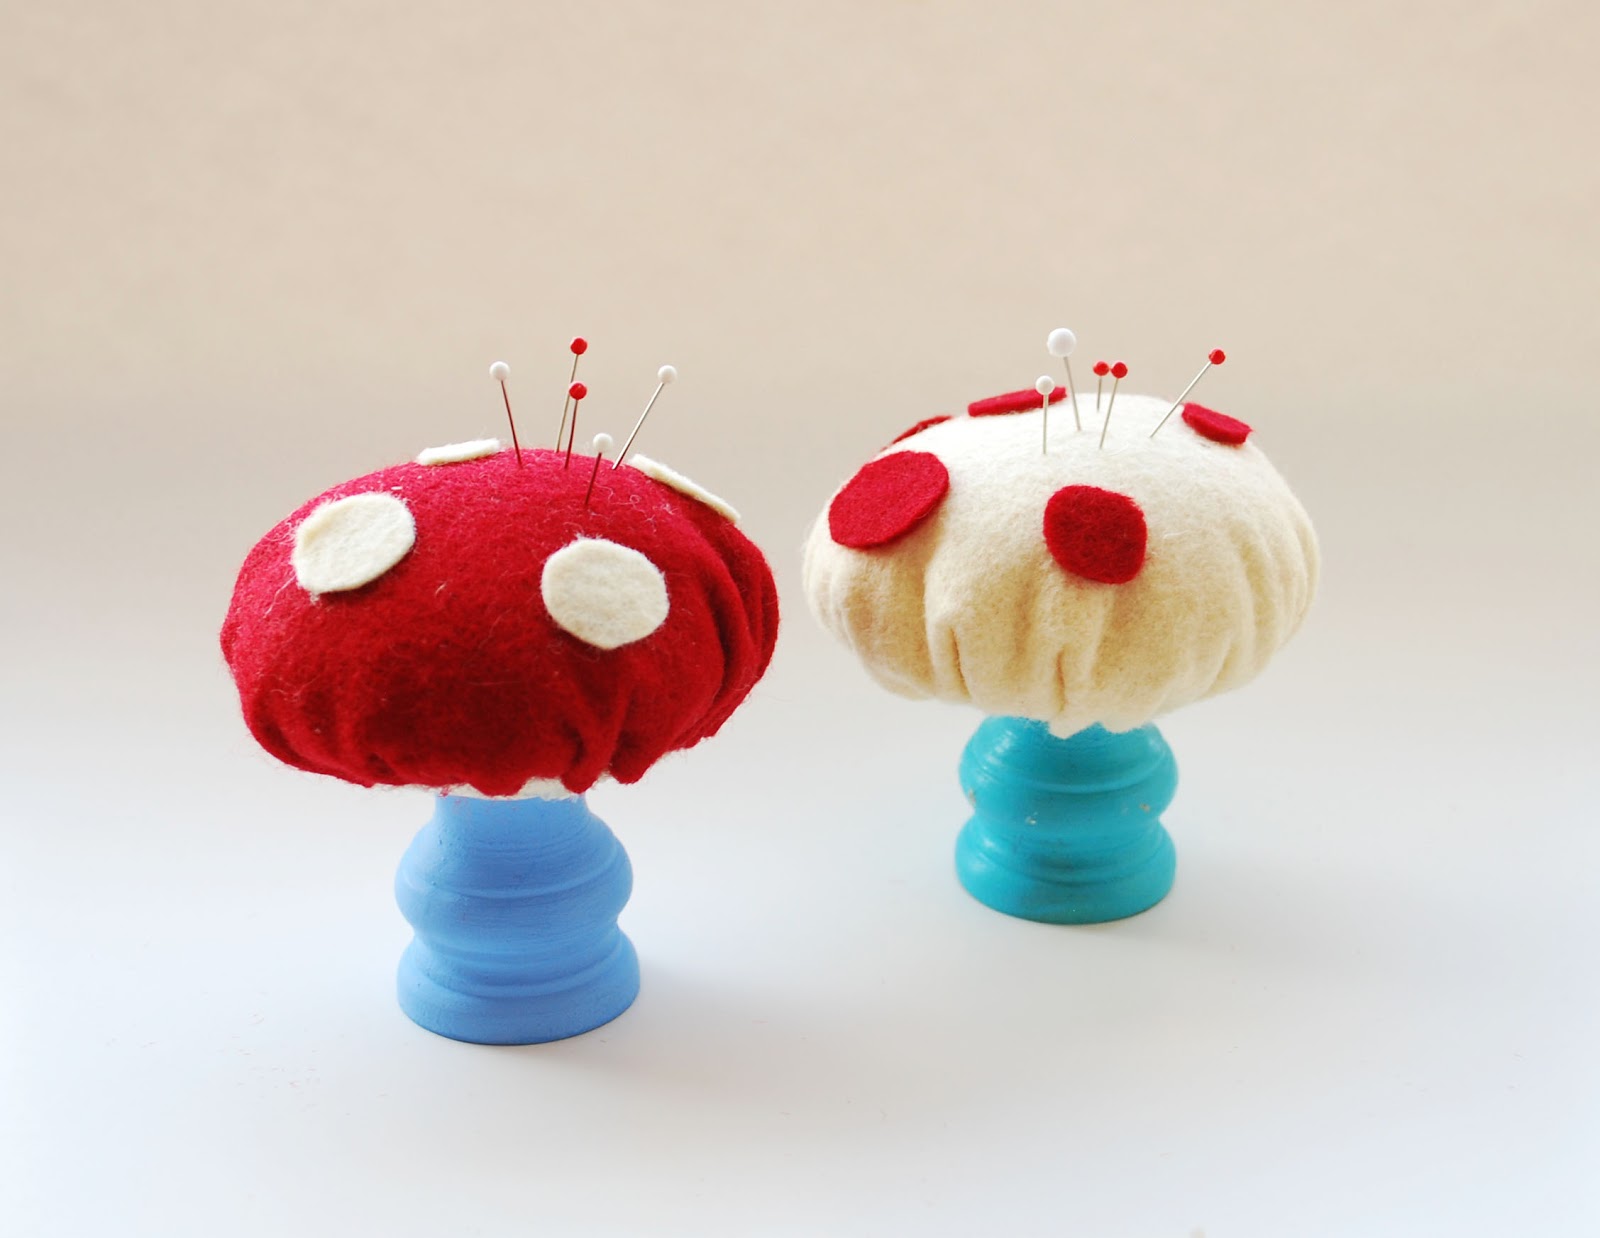
Mushroom Pincushion Tutorial

I have an upcoming event at which I will be teaching members of the community how to make felt Christmas ornaments.  I'm really excited about it.  It's a Christmas event through the Frontier Homestead State Park Museum. 

I thought it would be fun to have some cute pincushions on the crafting table at this event.  So here is what I made.  You can make one too!

I found these short wooden candle holders at the local thrift store.  I bought them thinking that I could come up with some sort of way to craft with them.  I'm a sucker for unfinished wood.  It calls to me, "Craft with me!"

After thinking about it for a while, it was decided.  I would make mushroom pincushions.  Here's how I did it.

Materials:
wooden candle holders
paint
wool felt
stiff felt
stuffing (I used wool roving)
needle and thread
glue gun

Step One:
First I painted the wooden candle holders. My kids wanted to do this project with me, but they had so much fun painting they never moved onto the felt part. 

Step Two:
I cut out the felt circles.  I cut a circle with a 2 1/4 inch diameter out of stiff felt as well as a circle with a 5 inch diameter out of wool felt.  I used the stiff felt as the base of my mushroom top and the wool felt as the top of my mushroom. 

Step Three:
Using a running stitch, I sewed along the edge of the wool felt circle and pulled slowly to gather the circle. 

Step Four:
I gently rolled the wool roving into a ball and stuffed it into the gathered felt mushroom top.  Then I slid the stiff felt circle into the gathered felt circle to cover the stuffing.  I also flipped the candle holder upside down and hot glued it to the middle of the stiff felt circle. 
Step Five:
I tightened the mushroom top around the candle holder by gently pulling the running stitch.  I stitched this in place.  For extra security I also hot glued the gathered edged of the mushroom top to the candle holder. 
 Step Six:
I cut out small circles with another color of felt and simply hot glued them on to the top of the mushroom. 

 And we're done! Now you have some cute mushroom pincushions to go on your craft table and in my case, to go on the craft table I'll be teaching from.

Monday, November 26, 2012

Felt Fortune Cookie Advent Calendar

Hooray!  My Felt Fortune Cookie Advent Calendar was featured on the Martha Stewart Living Blog!  You can find the post here or you can find the calendar pattern here.  Fun!

Saturday, November 17, 2012

Baby Jesus' Manger

The kids are trying to fill baby Jesus' manger with hay before Christmas.  Each time they do something nice, they put one piece of hay into the manger. 

That's our manger (inside the suitcase).  We just decided to put the manger, along with all of the extra hay, into this little suitcase to cut down on a big mess.