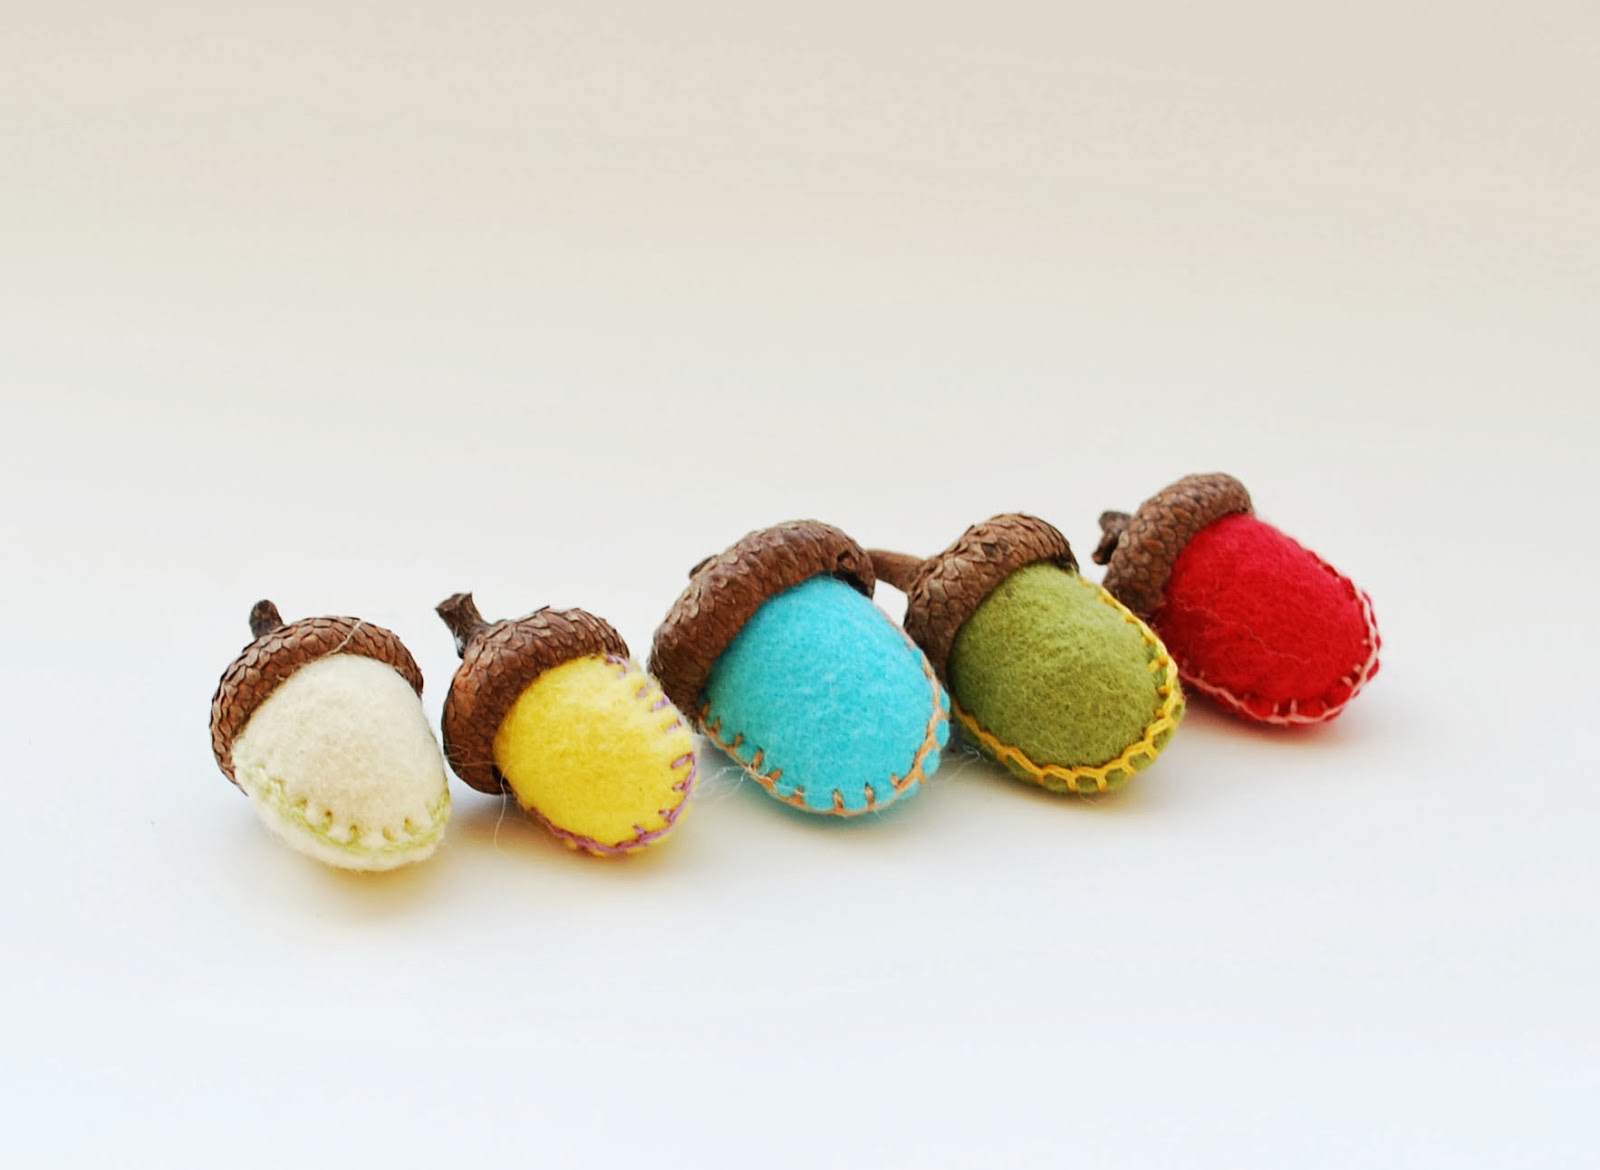
I started making felt acorns seven years ago. I was living in an area with a plethora of oak trees and there seemed to always be hundreds of acorns on the ground.
I made these little felt acorns to pass the time. I was far away from family with no car and no television. I also made these felt acorns to share with family members. My mom and her side of the family have a connection with acorns. Along with other reasons for the connection, their high school mascot was the 'mighty acorn'. You can't beat that for a school mascot!
Felt Acorn Tutorial
Materials:
Two small pieces of wool felt
Embroidery floss
Wool roving or other stuffing
Real acorn caps
Tools:
Scissors
Embroidery needle
Hot glue gun
Hot glue sticks
Step 1: Cut the felt
Cut two pieces of felt to 1 square inch each in size. In this tutorial I use two different colors of blue wool felt so it's easier to see how I make the acorn.
Place the felt squares together. Using your scissors, round off two corners of both of the felt squares. This makes your basic acorn shape. The rounded corners are the bottom of the acorn nut.
Step 2: Blanket stitch
Thread your embroidery floss through your needle. Choose how many strands of thread you will use based on how much you want your thread to show. I chose to use a contrasting color of thread and use two of the six embroidery-floss strands.
Place your two pieces of wool felt together so they are totally lined up. Starting at the top corner of the acorn, blanket stitch around the edge of the two pieces of cut wool felt, sewing them together. When you finish, you should have something that looks like a tiny pocket. Trim the extra thread.
Step 3: Stuff and Glue
Stuff your felt acorn with tiny pieces of wool roving until it is firm. It will be helpful to have several different sizes of acorn caps at this point. Try different caps on your felt acorn until you find the perfect fit. Once you find the acorn cap you are going to use, flip it over and put hot glue around the inside edges and in the middle of the underside of the acorn cap. Gently push the felt acorn into the underside of the cap, open side up, and hold until the hot glue has cooled.
And you're done!
It was this little acorn that I crafted seven years ago that got me thinking about sharing my crafts with others.