Thursday, November 21, 2013

Pinecone and Sparkle Tutorial for Kids

This pinecone tutorial is super easy and fun for kids.  You can use your sparkly pinecones as bowl fillers or attach a ribbon on each pinecone and use them as Christmas tree ornaments.  Your kids will love to hang ornaments on the tree made by them!


You'll need:
Mod Podge or glue
small paintbrushes
pinecones
Sparkle Flakes or glitter
plastic grocery bags


Place the plastic grocery bags down on your work surface.  These bags will make clean up afterward a breeze!  Help your child to dip the paintbrush into the Mod Podge or glue and paint the Mod Podge on the pinecone where she wants it to sparkle.

Once your child is satisfied with the amount of glue that is on her pinecone, use your fingers or a spoon and sprinkle Sparkle Flakes or glitter onto the pinecone making sure to do this over the plastic bags.

Let the pinecones dry for a few hours and you're done.


Thursday, November 14, 2013

Embroidery: The French Knot

The French knot is a simple knot that will lay flat on your fabric. Often a small, open circle on an embroidery
pattern indicates where the French knot should be placed on your embroidery.

1. Thread your needle and tie a knot at the end of the long tail of the thread.

2. Poke your needle through the back side of the fabric and gently pull the thread through until it
is stopped by the knot at the end of the long tail of your thread.


3. Starting with the thread on the left side of the needle and wrap it around the needle twice.


4. Poke your needle into the fabric slightly left of where the thread originally came up through the
fabric.


 5. As the needle goes through to the back side of the fabric, gently hold the knot (the thread that
you wrapped around the needle) in place, against the fabric and carefully pull the thread all the
way through.


I had to practice a few time to get it just right.  With a little practice you'll get it in no time!

Tuesday, November 12, 2013

A Grand Birthday Crown for My Grandma

This is perhaps the most important birthday crown I will ever make!


My grandma is turning ninety this week. She is a beautiful woman with so many strengths.  I do wish I could see her in her birthday crown!


Monday, October 28, 2013

Spider Web Embroidery Tutorial: A Perfect First Embroidery for Kids

This Halloween, teach your child how to embroider with this super simple spider web embroidery.  The huge stitches on this embroidery gives kids the feeling of immediate success.


When teaching your child how to embroider, it's important to be right there with your child.  This will minimize potential frustration on your child's part and keep him safe from the sharp point of the embroidery needle.

So if you have 30 minutes to an hour, you and your child will love doing this project together!

Let's get started.

Before getting your child for this project, get all of your supplies ready.  This was Micah's first embroidery project so I wanted to make sure I had his full attention.  He's only four years old, so if I had him gather materials with me and get the embroidery hoop ready, I think he would have been done with the project before we even started sewing.

You will need:
cotton fabric (preferably black or white)
cotton embroidery floss (use black floss if your fabric is white and vice versa)
embroidery needle
embroidery hoop
scissors
transfer pen or pencil

Get Your Embroidery Hoop Ready

Unscrew the embroidery-hoop fastener and take out the inner hoop. Place the inner hoop under the fabric and place the outer hoop over the fabric around the inner hoop. Gently pull on the fabric until it is taut. Secure the fabric into place by tightening the fastener.

Make a Spider Web Guideline

Now you are going to draw dots on the fabric with your transfer pen or pencil that will be a guide for you and your child when sewing the spider web.

Each spider web is unique, but a similar method for the dot guideline is used for all of the spider webs. Decide if you would like a full circle spider web, or a portion of a circle.  Place one dot where you want the middle of your spider web to be sewn.  This dot is the origin of your spider web.  The origin of my spider web is on the edge of the embroidery hoop. Place the other dots around the outer edge or what would be the circumference of your spider web 1 to 2 inches apart.


I decided not to make my spider web a perfect circle.  So when placing the dots around the circumference of the spider web, I purposely misaligned several of the dots.

Thread your Needle

Thread all six strands of embroidery floss into the needle and knot the end of your thread.  I recommend using a long piece of thread (2 feet at least) because your child's stitches will be so big.

Now go get the kiddies!

Time to Sew 

Have your child push the threaded needle up through the origin or center of the spider web and gently pull until the thread is stopped by the knot at the end.  Choose one dot on the circumference of the spider web and have your child push the needle down through the marked spot and gently pull until the thread stops. That is your child's first (huge) stitch. Let's call these stitches the "runner" stitches.


Your child will now bring the needle back up through the origin pulling gently until the thread stops.  Choose another circumference dot and send the needle down through the fabric at this spot.


Help your child repeat this process, sewing large runner stitches from the origin outward until all of the spider web guide dots have been used.

When your thread runs out and you cannot make another stitch, just tie off your thread close to the fabric on the underneath of your embroidery and trim the extra floss.  Re-thread your needle and start your embroidery where you and your child left off.

Next, make back stitches with your child, going from one runner stitch to the next, starting on one end of the spider web. Make several rows of these stitches across the runner stitches all at about the same distance apart.  Repeat this process until your spider web is complete.


And there you have it.  In just about 30 extra large stitches your child has completed his very first embroidery! Hooray for kids!

If your child is not quite ready to embroider, you can still get him involved.  Have your child pull the thread through the fabric after you have make the initial poke with your needle.  Keep practicing until he feels confident to sew right along with you.


Tuesday, October 15, 2013

Homespun Homeschool: 3 Ways to Motivate Your Child to Practice Their Instrument

I've heard a lot of moms complain about their child's instrument practice.  Sometimes it's hard to motivate a child that just doesn't want to practice.  Here are three things that work for us in motivating our children to practice their instruments.


1.  Make it fun!
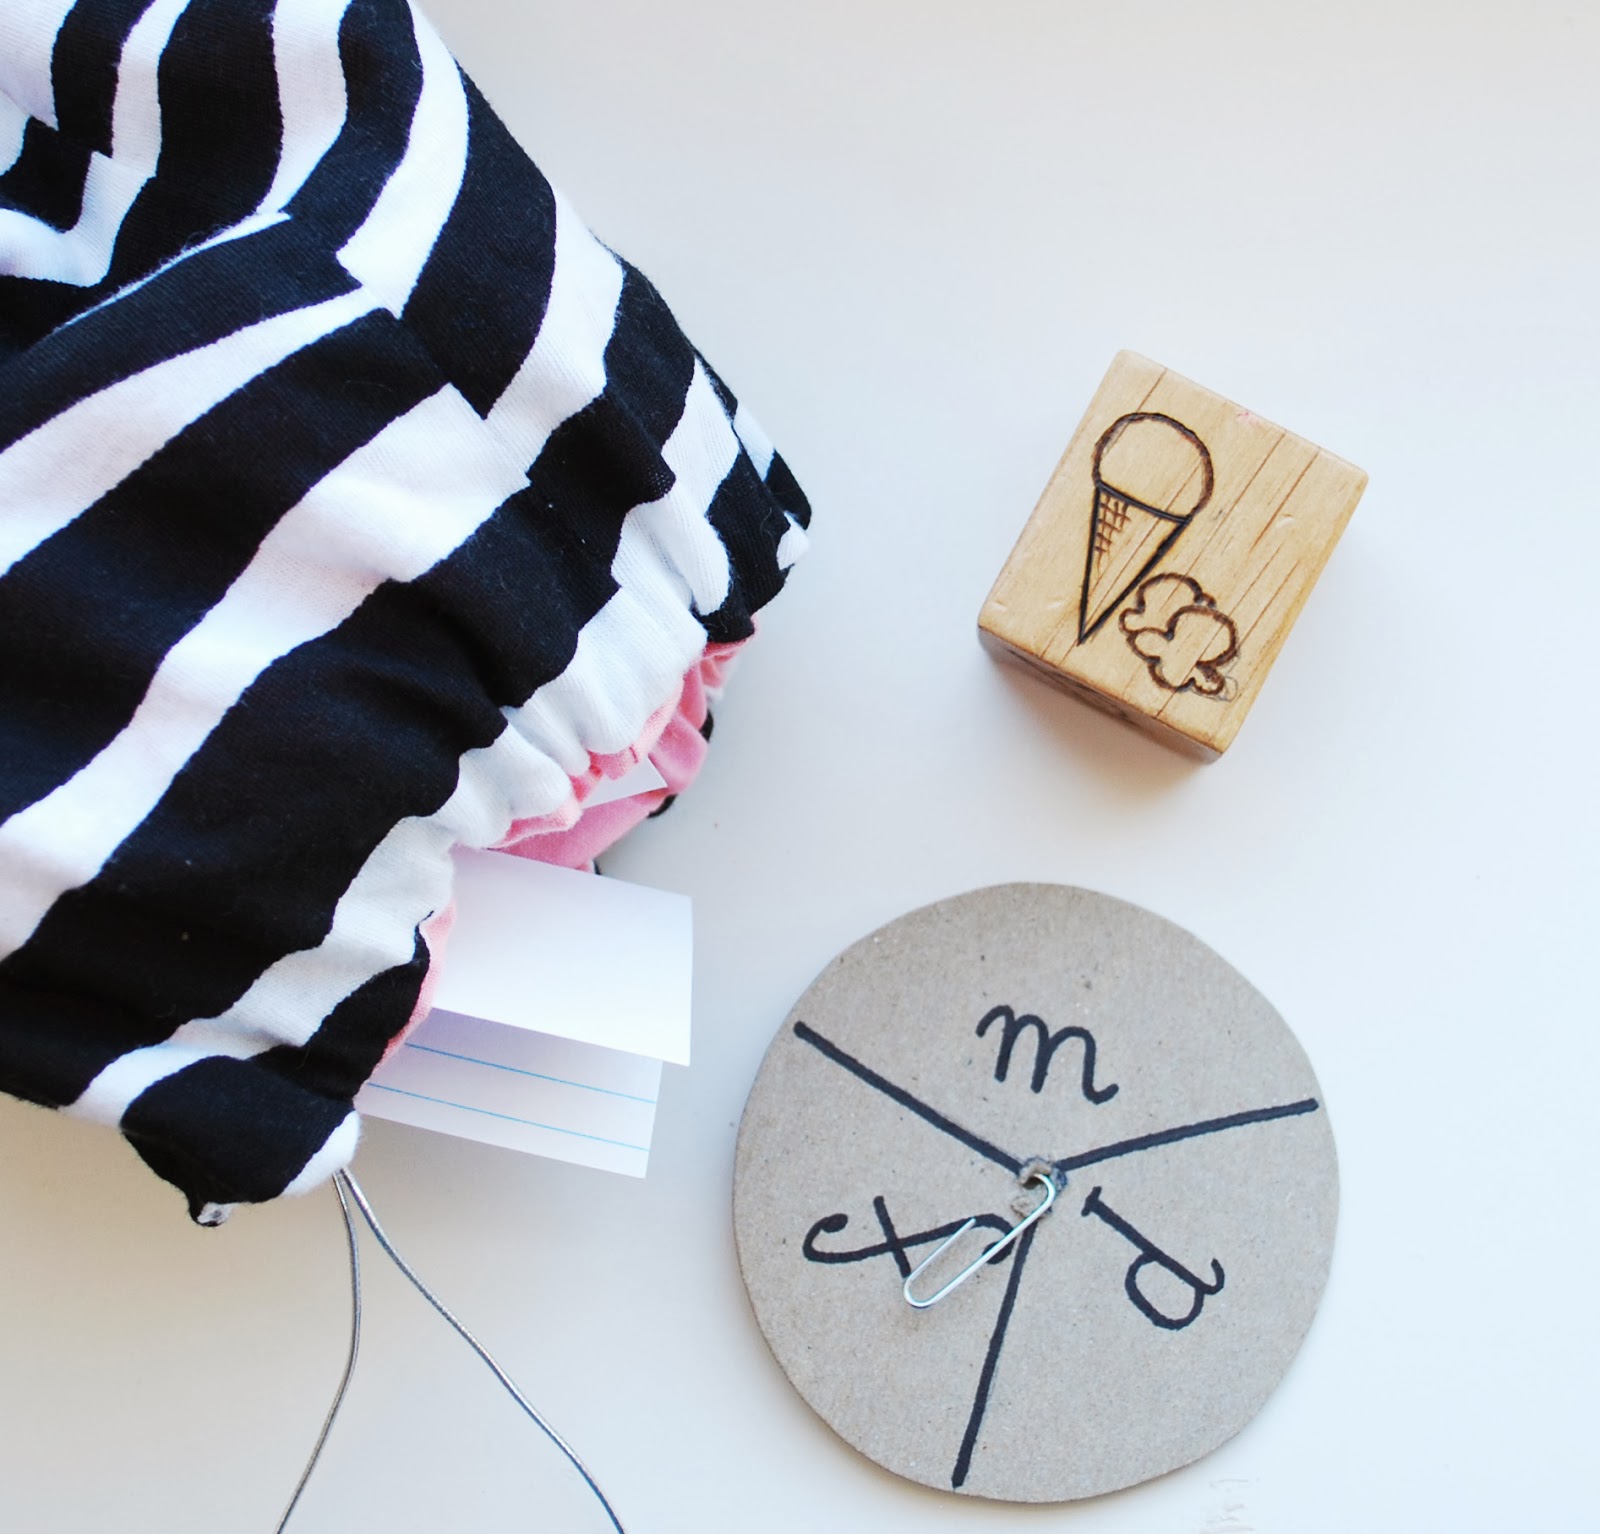
Making instrument practice fun, especially for young kids, is a great way to keep them practicing. Sometimes we turn practice time into game time.  We use spinners with different dynamics on them.  If Ev spins and it lands on "forte" she'll play the next song loud.  We use rhythm dice to switch up the rhythm of the songs that she plays.  We also have Ev draw the song out of a bag so the order of songs that she practices is different each time.

2.  Practice with your child
If you are lucky enough to have two of the same instrument or can somehow practice with your child, this can be motivating.  My kids get a kick out of teaching me a song on the violin or guitar.  They are pretty good to remind me that my playing is getting a little rusty and that I need to practice more.

3.  Occasionally a little prize or treat can help
Our kids are usually pretty good to practice their instruments without complaint, but there have been times when practice seems like a punishment (for everyone). I've found that a little prize or treat once in a while for a great job practicing can be really helpful.


Saturday, October 12, 2013

DIY Halloween and Day of the Dead Bunting Tutorial

When you decorate for Halloween don't limit yourself to just black and orange decorations!

Think "Day of the Dead."  This Mexican holiday seems to have been pulled into Halloween traditions, most likely because of the use of skeletons during Day of the Dead celebrations and the close proximity in Holiy dates.  Did you know that the Day of the Dead is celebrated on November 1st?


Day of the Dead is not so much a morbid holiday as it is a celebration of loved ones who have passed.  So it makes sense that tons of colorful flowers are used in celebration on this day.

This year, I chose neon colors to add to the classic black and orange used at Halloween. Here's how I made a bunting that combined traditional colors of Halloween and bright colors of Day of the Dead.

I started out by cutting strips of black and orange card stock.  I trimmed these and cut decorative edges on the end of each strip of paper.  The papers were cut symmetrically so that they could be folded in half over ribbon or cord and look the same on both sides of the bunting.


There was no order as far as the way I placed my paper flags on the cord.  I just grabbed from my pile of paper flags, placed the flag over the cord, and put a dot of hot glue between the two sides of the flag.


The Day of the Dead skulls were made from felt.  Each one was drawn free hand with neon fabric markers. The skulls were also made to be folded over the cord just like the flags.  After every five or so flags I placed a skull over the cord and secure it by hot gluing the two sides of the skull together.


I repeated this until I reached my desired length of bunting.


So when you decorate your home for Halloween this year take a lesson from this Mexican festivity and include all sorts of colors in your Halloween decor.


Friday, October 11, 2013

Dog-Themed Birthday Party

Micah requested a dog-themed party for his birthday this year and so we delivered (all on a budget of $20 too).


Since our party guests were all four years old, we decided to start the party right with some simple coloring. When guests arrived, we directed them to a table with dog coloring pages and a box of crayons.  After a bit of coloring we headed over to the next room for some fun doggy games.  With a pile of balls, a dog obstacle course, and some play tunnels, the party goers got all sorts of wiggles out.


This dog party also included a version of pin the tail on the donkey, but instead of tails on donkeys we were trying to get dog bones in the dog's mouth.


Our games didn't end there!  Each of our party guests attended doggy obedience school before having their dog treats.  The kids had a blast eating Cocoa Puffs out of real (new and clean) dog bowls.


After opening presents, we sang to Micah and he blew out his candles on his dog-food cake.  For this cake I used one chocolate cake mix, divided in half and baked in two pans.  One layer of the cake was placed in the bottom of a large dog bowl with wax paper underneath.  The other layer was turned into cake balls and made to look like over-sized dog food.


Each party goer was given an assortment of delicious dog treats for being such good dogs including a sugar cookie dog bone, Scooby Snacks, and chocolate cake balls.


And the guests left with their own bag of dog treats and a ball so they could practice their dog tricks at home!