
I thought it would be fun to have some cute pincushions on the crafting table at this event. So here is what I made. You can make one too!

After thinking about it for a while, it was decided. I would make mushroom pincushions. Here's how I did it.
Materials:
wooden candle holders
paint
wool felt
stiff felt
stuffing (I used wool roving)
needle and thread
glue gun
Step One:
First I painted the wooden candle holders. My kids wanted to do this project with me, but they had so much fun painting they never moved onto the felt part.

Step Two:
I cut out the felt circles. I cut a circle with a 2 1/4 inch diameter out of stiff felt as well as a circle with a 5 inch diameter out of wool felt. I used the stiff felt as the base of my mushroom top and the wool felt as the top of my mushroom.

Step Three:
Using a running stitch, I sewed along the edge of the wool felt circle and pulled slowly to gather the circle.
Step Four:
I gently rolled the wool roving into a ball and stuffed it into the gathered felt mushroom top. Then I slid the stiff felt circle into the gathered felt circle to cover the stuffing. I also flipped the candle holder upside down and hot glued it to the middle of the stiff felt circle.

I tightened the mushroom top around the candle holder by gently pulling the running stitch. I stitched this in place. For extra security I also hot glued the gathered edged of the mushroom top to the candle holder.

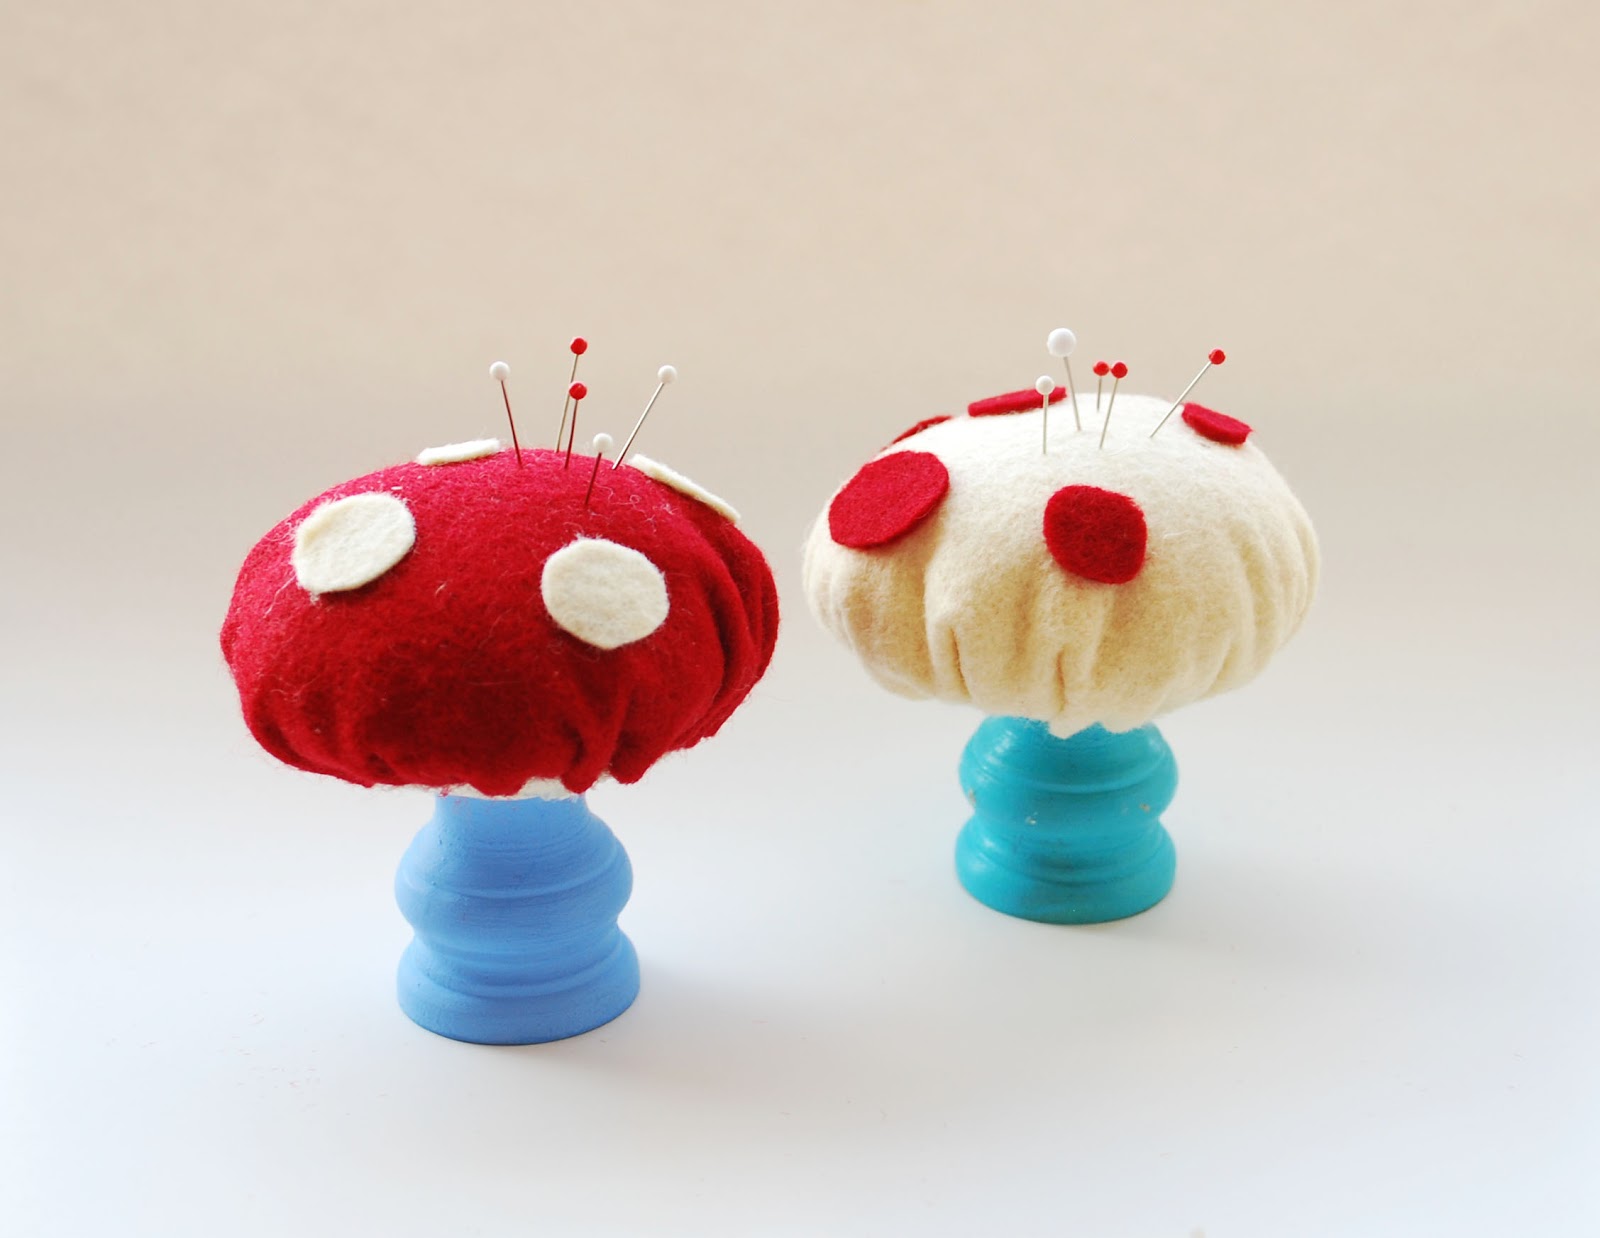
I cut out small circles with another color of felt and simply hot glued them on to the top of the mushroom.

No comments:
Post a Comment